
How to set up my barcode scanner?
Learn how to set your scanner's language, AIM code and group separator to correctly read 1D and 2D barcodes.
To read barcodes reliably, the scanner and the application need to agree on three things:
- Language — the same one set on the computer that uses it
- AIM Code — a prefix that identifies the type of barcode being read (usually the ] symbology followed by two characters: d2, A0, …)
- Group Separator (or Global Suffix) — a constant suffix in 2D barcodes (DataMatrix, QR Code, etc.) telling the application that one block of information has ended and another is about to start
Example:
]d301001917780063392110605133833871450246171723113010T041811
What the application reads from the code
A 2D code (DataMatrix, QR Code) carries several blocks of information, each introduced by an application identifier. LogisticsWMS recognises the identifiers below and fills in the matching field during reception, picking, packing and inventory:
- (01) item code (GTIN)
- (10) batch or lot number
- (11) production date
- (15) best-before date
- (17) expiry date
- (21) serial number
- (30) and (37) quantity
Two formats are accepted, and both fill in exactly the same fields:
- the raw output of the scanner, where the identifiers are not visible and the blocks are separated by the group separator — this is what you get when you scan a code;
- the printed, human-readable form, where each identifier appears in brackets, for example (01)07800633921106(10)LOT123(17)271231 — useful when you type or paste a code by hand.
The same fields are also read from GS1 Digital Link codes, the QR Codes and DataMatrix codes that hold a web address such as https://example.com/01/09506000134352/10/ABC123?17=271231. The item code, batch, dates, serial number and quantity are taken from the address, whatever the website it points to, and this works with a handheld scanner as well as with the device camera. An item code written with 8, 12 or 13 digits is completed to 14. Only the full form, with the numeric identifiers, is read: compressed Digital Link codes and the form that uses names instead of numbers (/gtin/, /lot/) are not, and neither is an ordinary web address; these are kept as a plain barcode.
Codes that arrive with the scanner's AIM prefix are recognised as well, including your own custom prefixes and codes that leave a space between the prefix and the data.
Note
If a code carries a best-before date (15) but no expiry date (17), the best-before date is used as the item's expiry date — when it carries both, the expiry date always wins.
Instructions
-
Go to Settings, in the sidebar.
-
Open the Scanner tab and select the Settings tab.
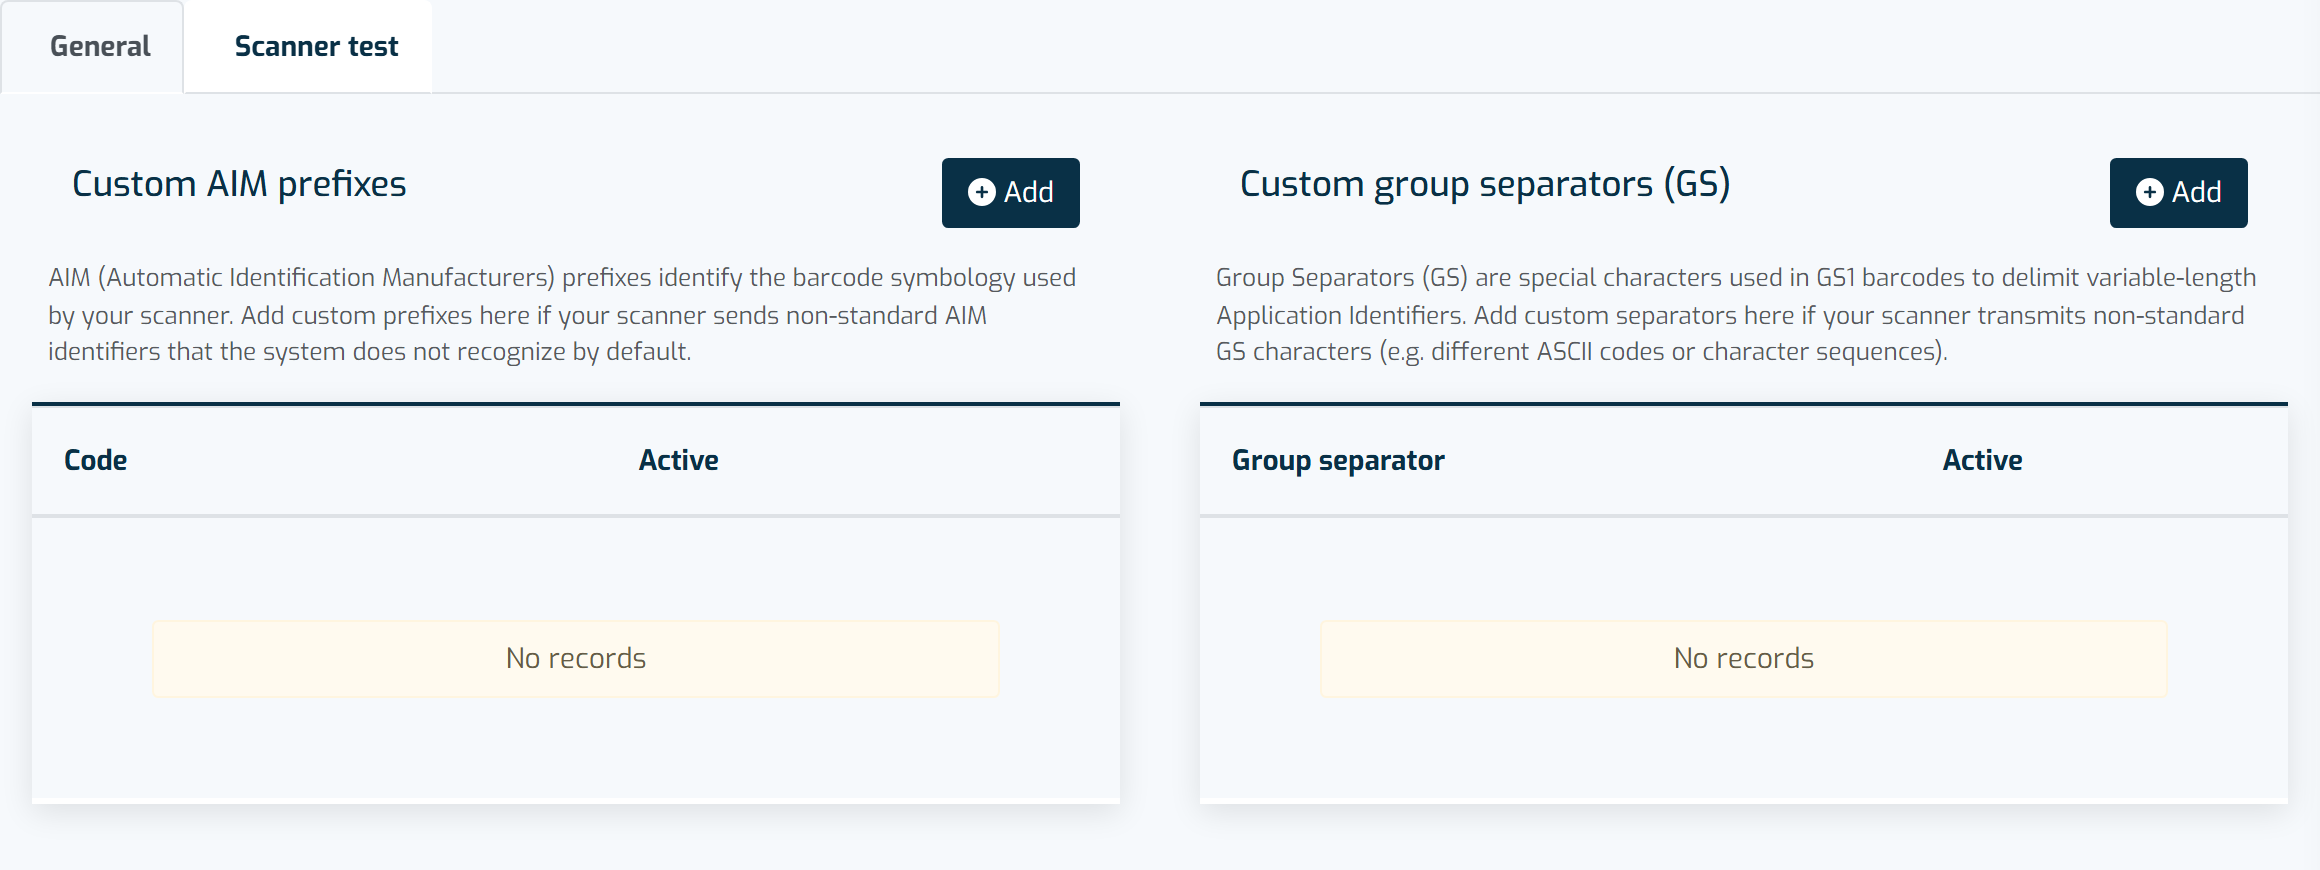
The Scanner tab configures the AIM identifier and group separator used when reading barcodes. -
Custom AIM Prefixes are added automatically as you scan, but you can also add them by hand: click Add, type the code, check Active and click Save.
-
Custom Group Separators (GS) work the same way — automatic while scanning, or added by hand with the same steps.
-
Use the Scanner Tester tab to confirm a code reads the way you expect.
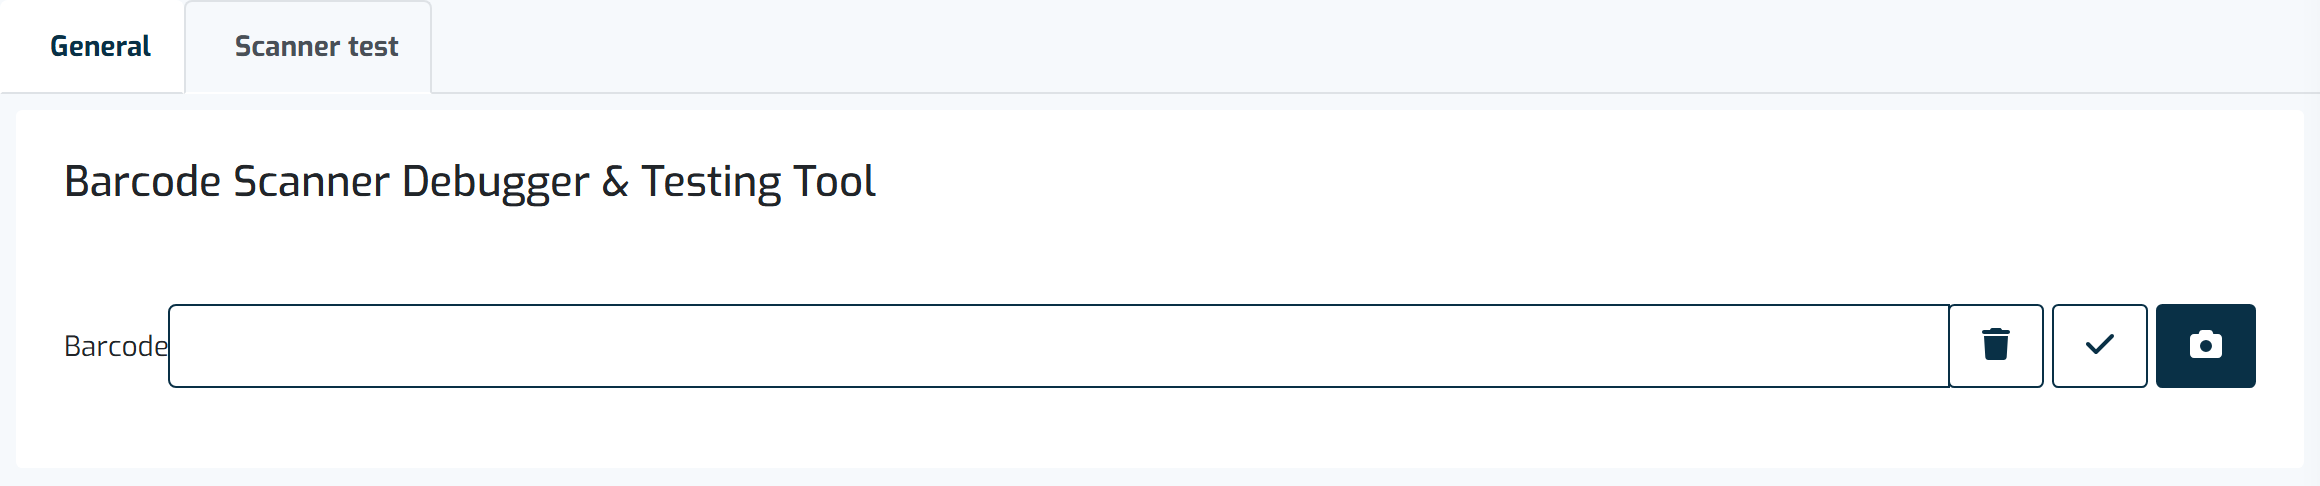
The Tester shows exactly which fields the application read from a code, useful when a code does not behave as expected.
Tip
Whenever a code doesn't behave as expected, use the Scanner Tester tab — it shows exactly which fields the application read from it.
Please note
A value that doesn't have the expected length — such as an item code with more than 14 digits — is rejected rather than truncated, so an incorrect code never gets saved.
Each device may also need its own configuration:
Each device configures a little differently; these are a few we recommend.