How to generate Product labels?
Print product labels by choosing the category, the template, the barcode and the information that gets printed.
A product label identifies the product with a barcode, so it can be scanned during reception, put-away and picking.
The barcode type and size come from the Template you choose, not from fields in this dialog. What you decide here is the category, the template, which barcode to use and what information gets printed.
Instructions
-
Go to Products in the Entities section of the sidebar.
-
On the product's row, open the actions menu and select the print label button.
-
Under Label Category, choose Product.
-
Under Template, choose the product label template.
-
Under Barcode, choose which of the product's barcodes to print.
-
Switch the information to show on or off — for example Show Product, Show Product Description, Show Batch or Show Expiration Date. Which options appear depends on the fields the template includes.
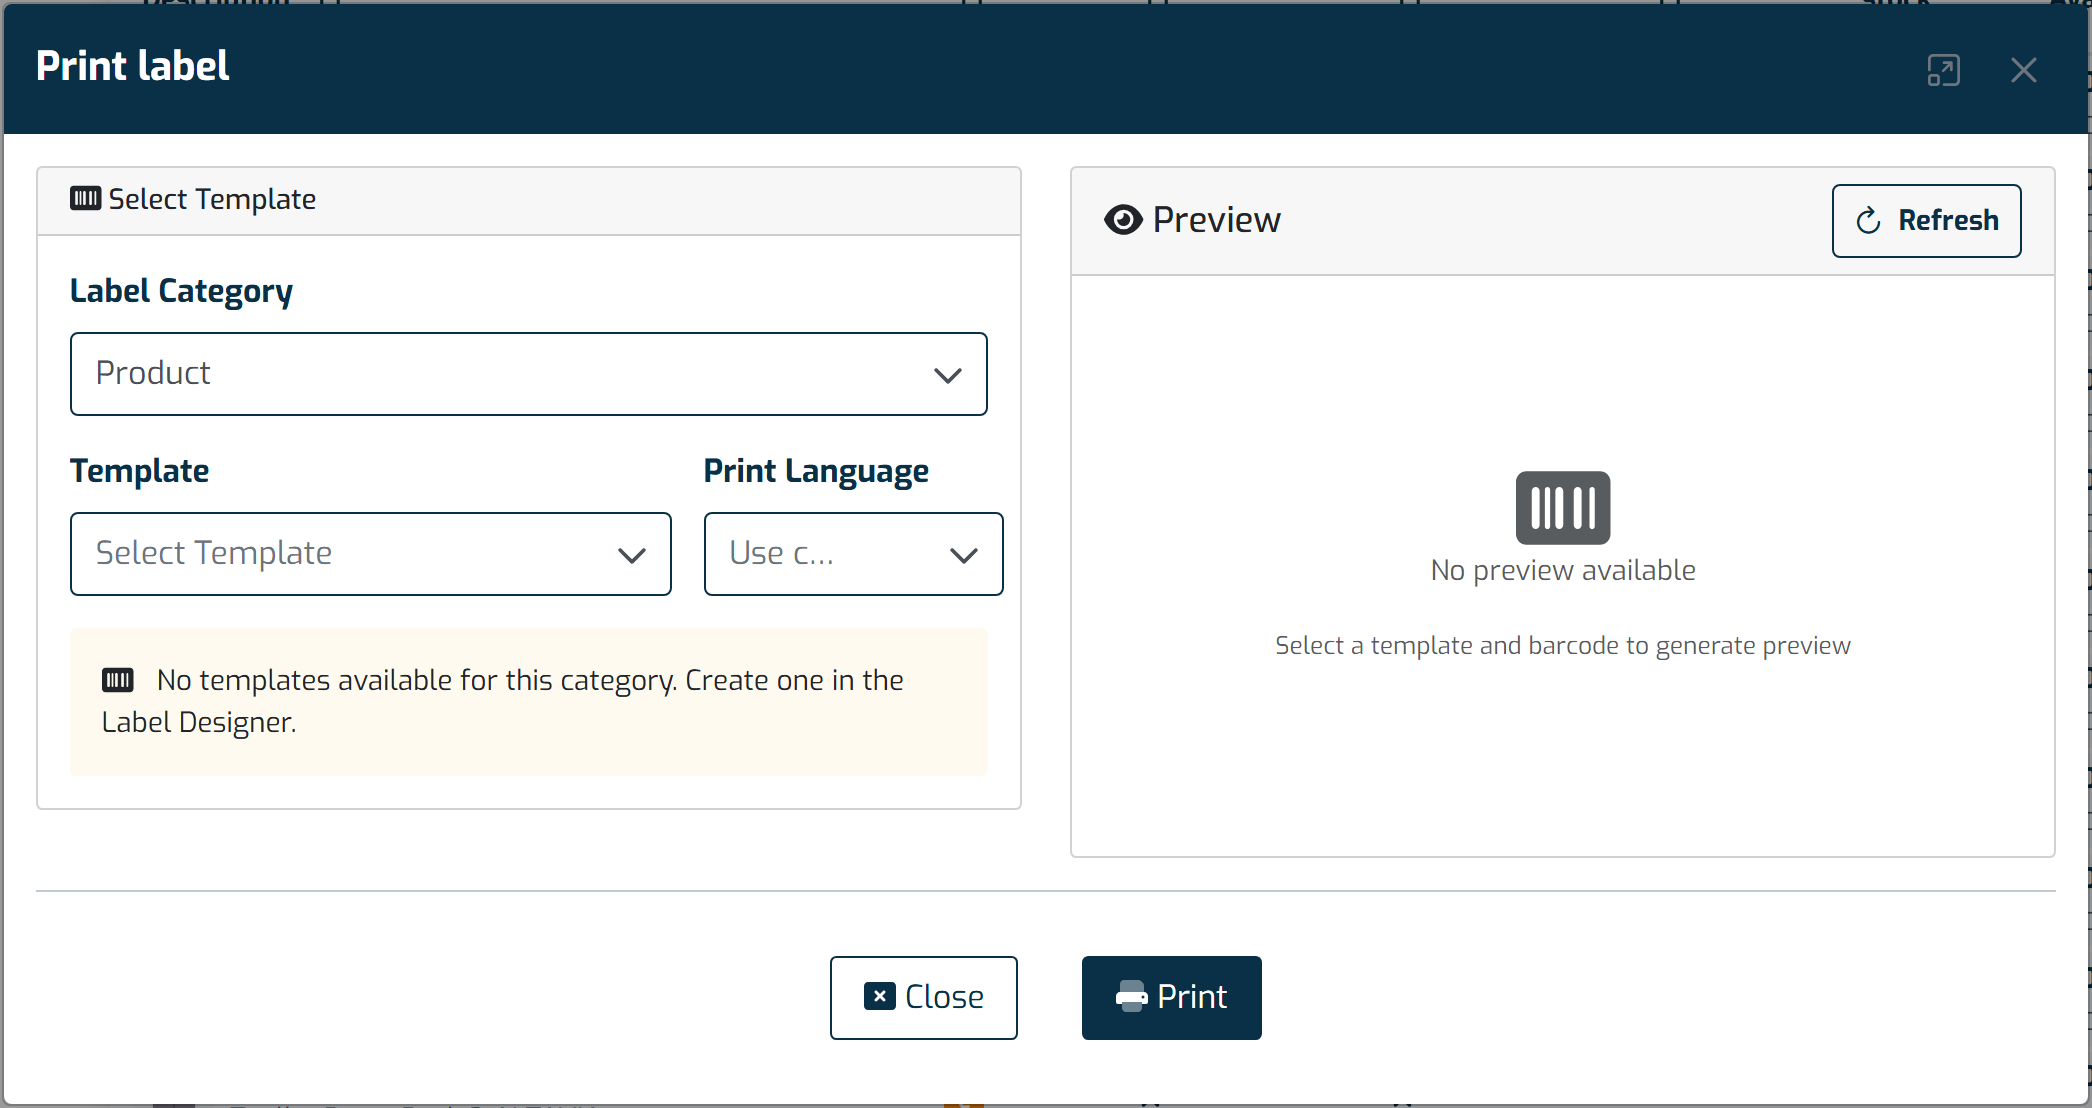
The same dialog prints product labels and logistics labels — what changes is the Label Category you pick at the top. -
Select Refresh to generate the preview and check the result.
-
Select Print. A PDF is generated with the label.
Note: you can also generate product labels from Reception Notes or Shipping Orders, on the Lines tab.