
How to import products and delivery points from Excel?
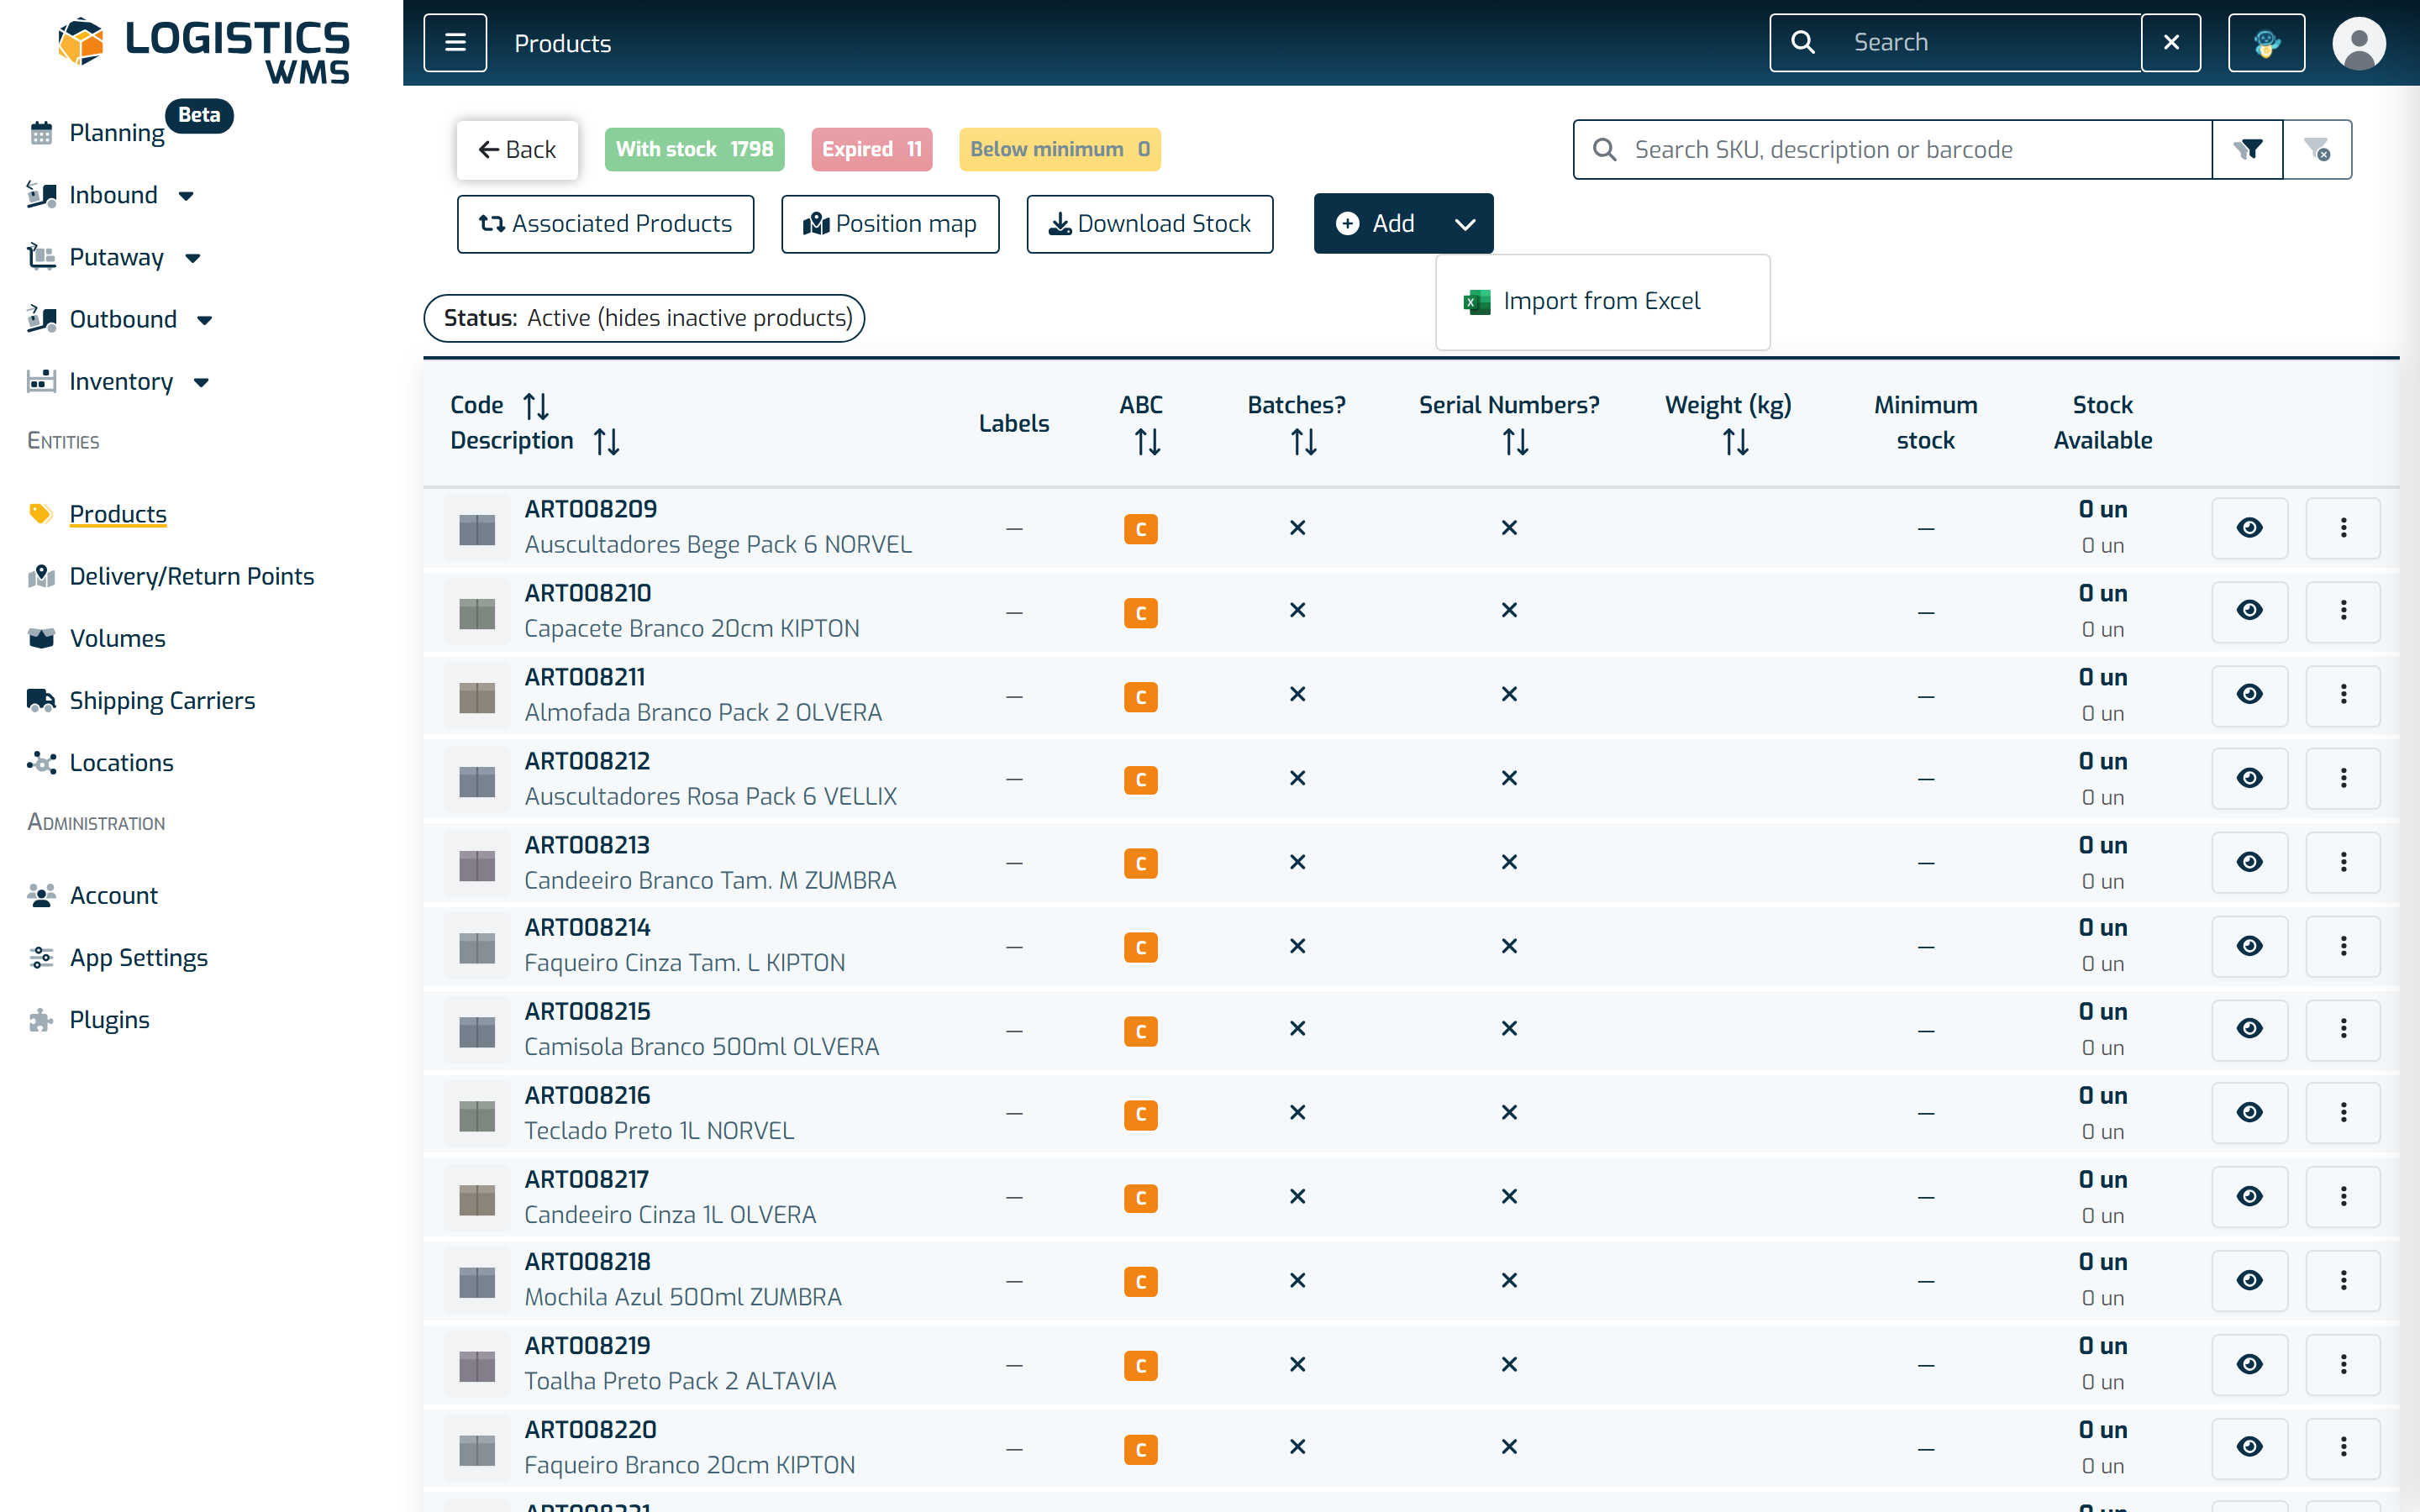
Create or update many products and delivery points at once with the Excel template, from the Import from Excel option in the Add button.
Use Import from Excel to create many products or delivery points at once from a spreadsheet, instead of adding them one by one. The option is inside the Add button of each list.
Where to find it
On the Products and Delivery/Return Points lists, the Add button has an arrow on its right. Select the arrow and choose Import from Excel. Selecting Add itself still opens the form for a single record.
💡 Note: if you only see Add, without the arrow, Excel import is not enabled for your account or your user profile. Ask your administrator.
Instructions
- Open the Products or Delivery/Return Points menu in the side menu.
- Select the arrow next to Add and choose Import from Excel. The Import Products (or Import Delivery/Return Points) window opens.
- Under Instructions, select Download Template and save the Excel file.
- Fill in the file, one row per record. Keep the first row (the column headers) and the order of the columns as they are: these files are read by column position, so do not move, remove or add columns.
- Back in the window, drag the file onto the upload area, or click the area to choose it.
- Select Upload.
- Check the Import Summary: Imported shows how many records were saved, while Warnings and Errors list each problem with its row number, so you can correct those rows and import them again.
- Select Close. The list refreshes with the imported records.
💡 Note: if a client is selected in the top bar, every imported product and delivery point is assigned to that client.
What goes in the product template
The template has five sheets, read in this order. Only the first one is required:
- Products: Code, Description, Abbreviation, Unit of Measure, Weight (kg), Batches?, Serial Numbers?, Expiration Date?, Security Device?, Observations. Code and Description are required.
- Lots: Product Code, Batch, Expiry Date, Active.
- Barcodes: Product Code, Code, Type.
- Serial Numbers: Product Code, Batch, Serial Number, Active.
- Cheatsheet: the accepted values for each field, such as the yes/no values (true, yes, 1, sim, si), the units of measure (UN, KG, L, and so on), the barcode types (GTIN, CNP, and so on) and the date formats.
In the Lots, Barcodes and Serial Numbers sheets, Product Code must be the Code of a product that already exists or that is in the Products sheet of the same file.
If a row's Code already exists, that product is updated instead of duplicated, and the cells you leave blank keep the product's current values.
What goes in the delivery point template
One sheet with Name, Business Name, External Code, Type, Tax Identification Number (TIN), Global Location Number (GLN), Address, Postal Code, City, Country, Email and Phone, plus a Cheatsheet sheet.
- Rows without a Name are skipped.
- Business Name takes the Name when left blank.
- Type accepts CLIENT and SUPPLIER, several separated by commas. Left blank, it is CLIENT.
💡 Note: every row creates a new delivery point. The import does not look for an existing one to update, so do not upload the same file twice.
Reception notes and shipping orders: files from your ERP
The Add button of Reception Notes and Shipping Orders has the same Import from Excel option. There, the import matches columns by their header name rather than their position, so it also accepts files exported from another system, including a single sheet with one row per line:
- Choose the file. The application reads it before importing and shows one of three results:
- WMS template recognised: the file is the application's own template, in any language. Select Upload.
- Using profile followed by a name: the columns match a mapping profile you saved before. Select Change if you want to review it.
- The Map the file's columns panel, for any other file.
- In the panel, choose the File layout: Two sheets (documents and lines) or One sheet (one row per line). If the column headers are not in row 1, change the Header row.
- Under Document fields and Line fields, choose which column of your file feeds each field. An example value from the file appears next to each choice. Fields marked with * are required: the origin document code, the product code and the quantity, plus the delivery point on shipping orders.
- Under Matching, choose how delivery points are found (Match Delivery Point by), how products are found (Match products by: product code (SKU) or a barcode type) and the Date format.
- To reuse this mapping, tick Save as profile and enter a Profile name. The next file with the same column headers is recognised automatically.
- Select Upload.
In a one-sheet file, rows with the same origin document code become one document. If those rows disagree on the document's own data, the first row is used and the others are reported as warnings.
💡 Note: a mapping profile belongs to the client chosen for the import. Tick Available to all clients to share it with every client. To remove a profile, choose it under Mapping profile and select Delete profile.
💡 Note: if the file cannot be read, for example because it is not an .xlsx Excel file, a single message says "The file could not be read." and Upload stays disabled until you choose another file.