
How to close an Inventory?
Close an inventory, follow the “Closing” state and get the confirmation email once the stock adjustments are finished.
Closing an inventory is the moment the count stops being a list of scans and starts moving stock. It happens in two deliberate steps — first you stop the counting, then you apply the adjustments — and the second one runs in the background.
Instructions
- Go to the Inventory menu, available in the side or home menu of the application.
- Open the Inventory by Location submenu.
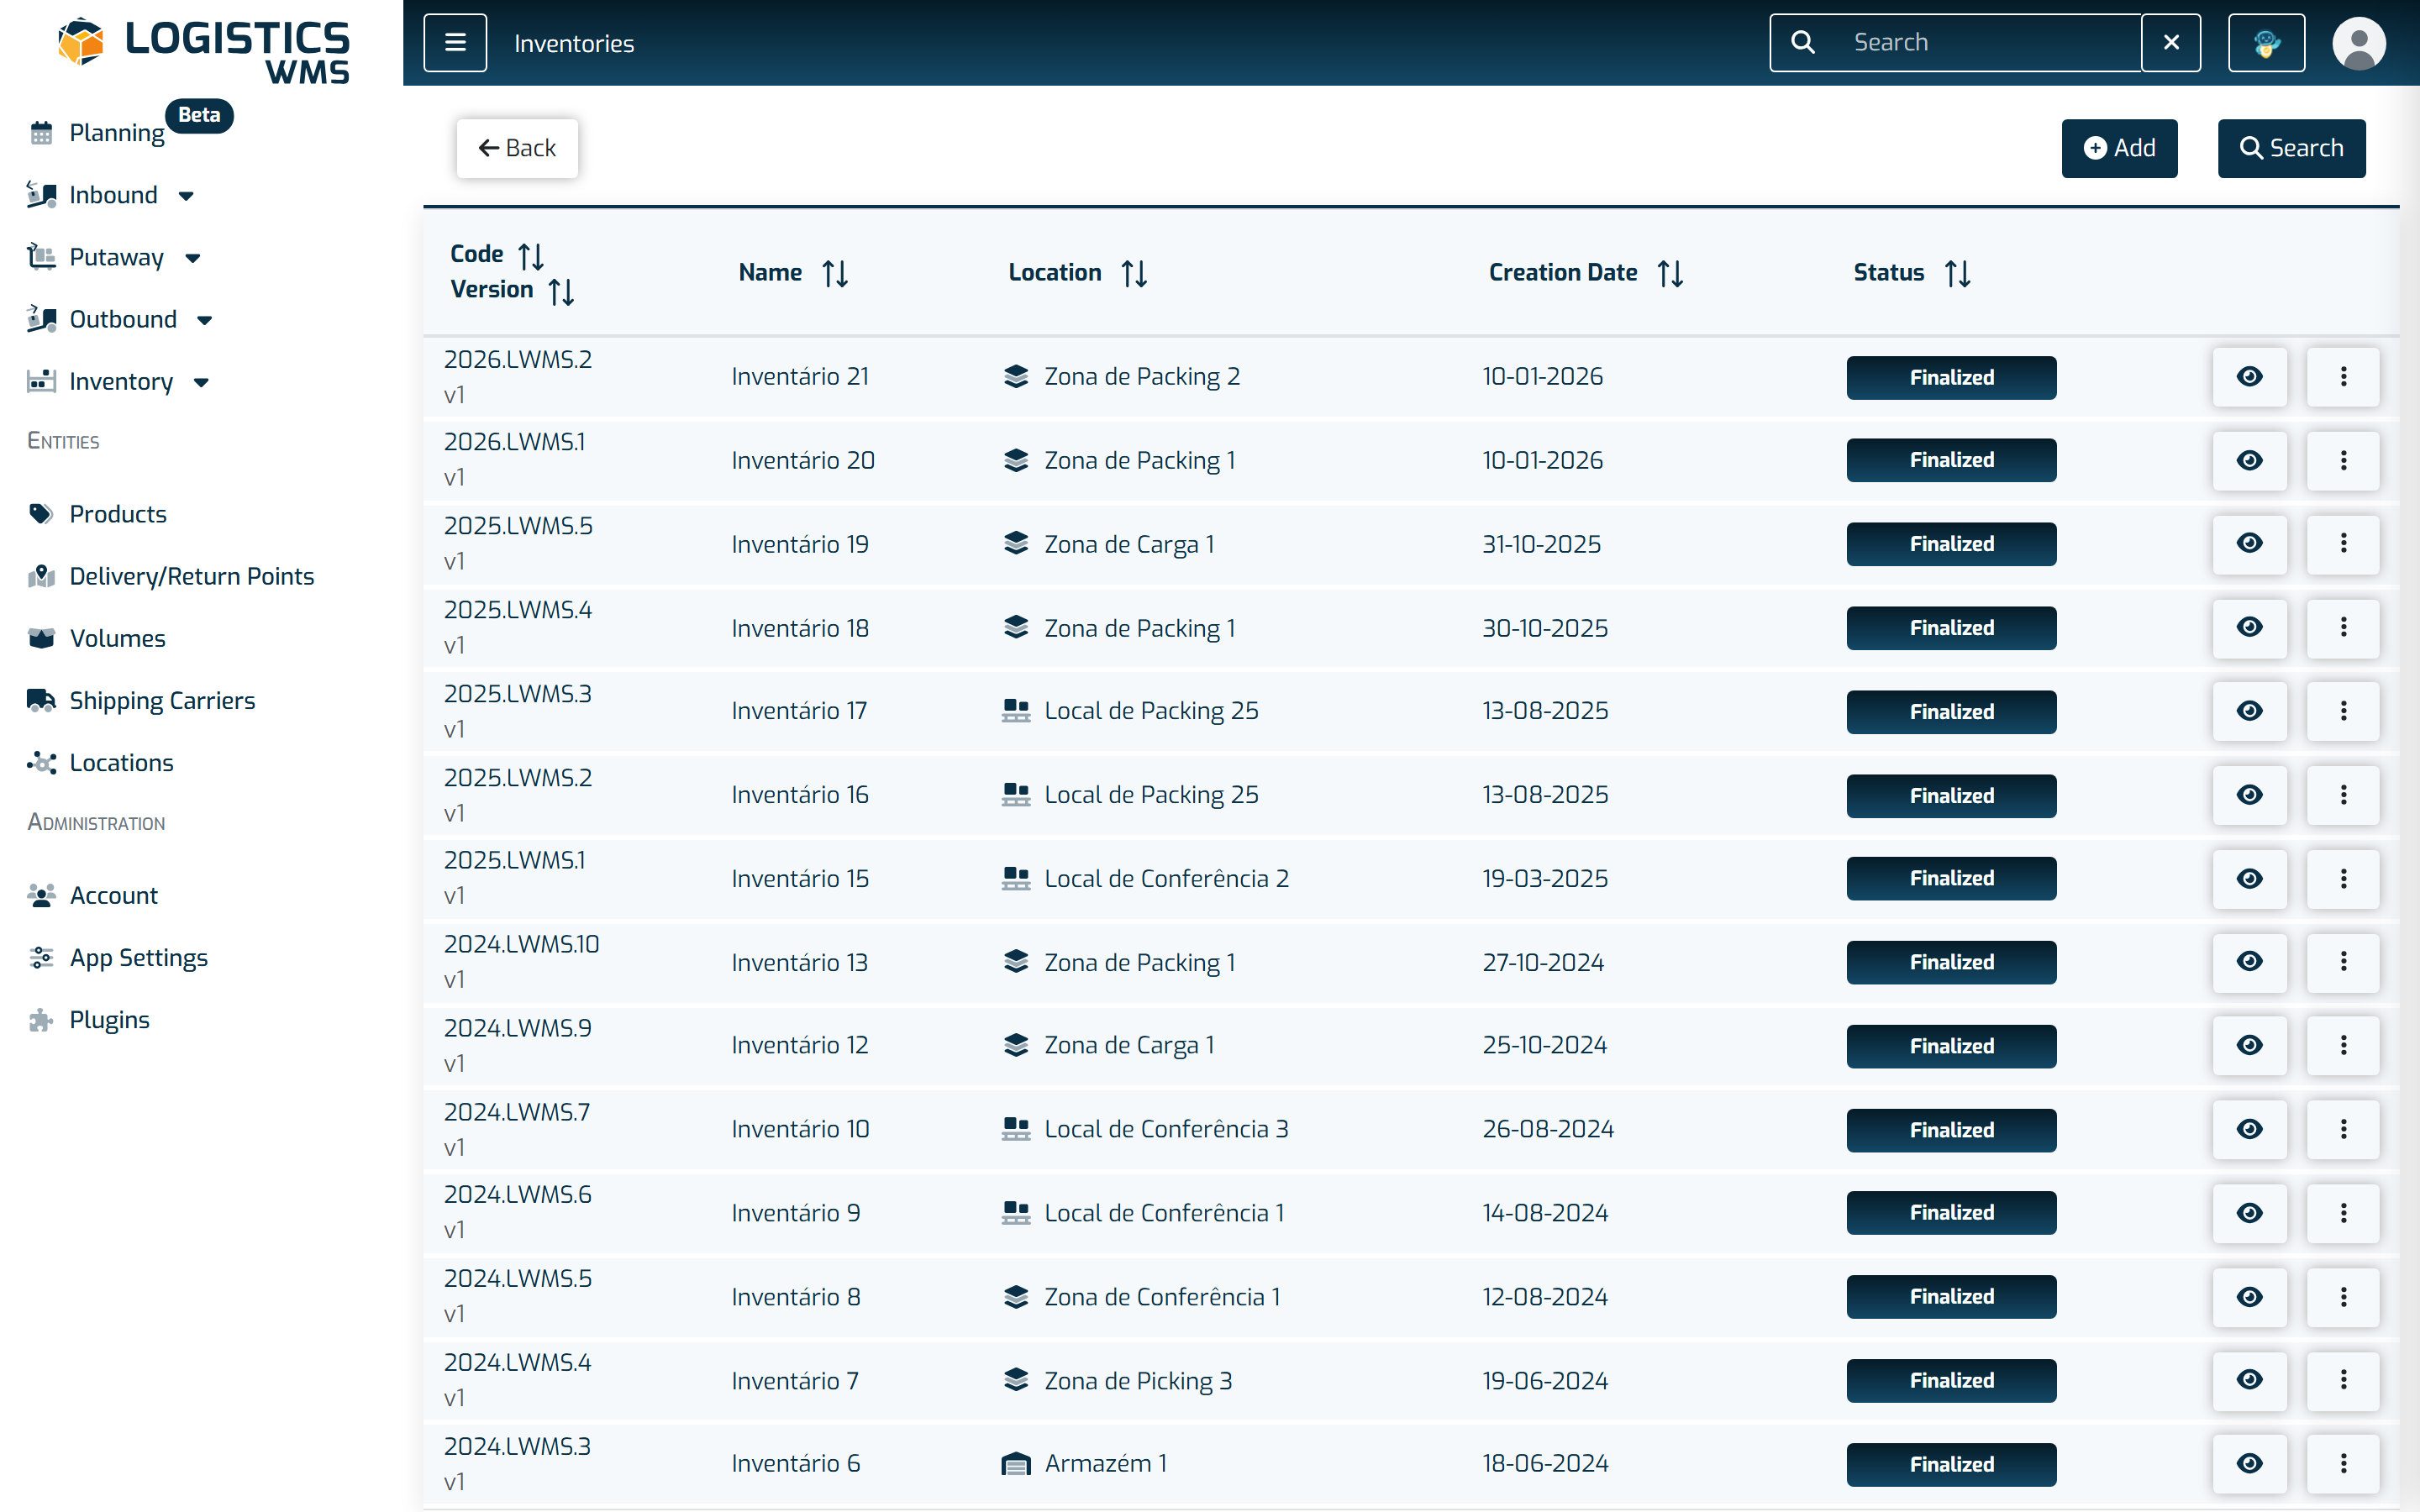
- Select View on the inventory you want to close.
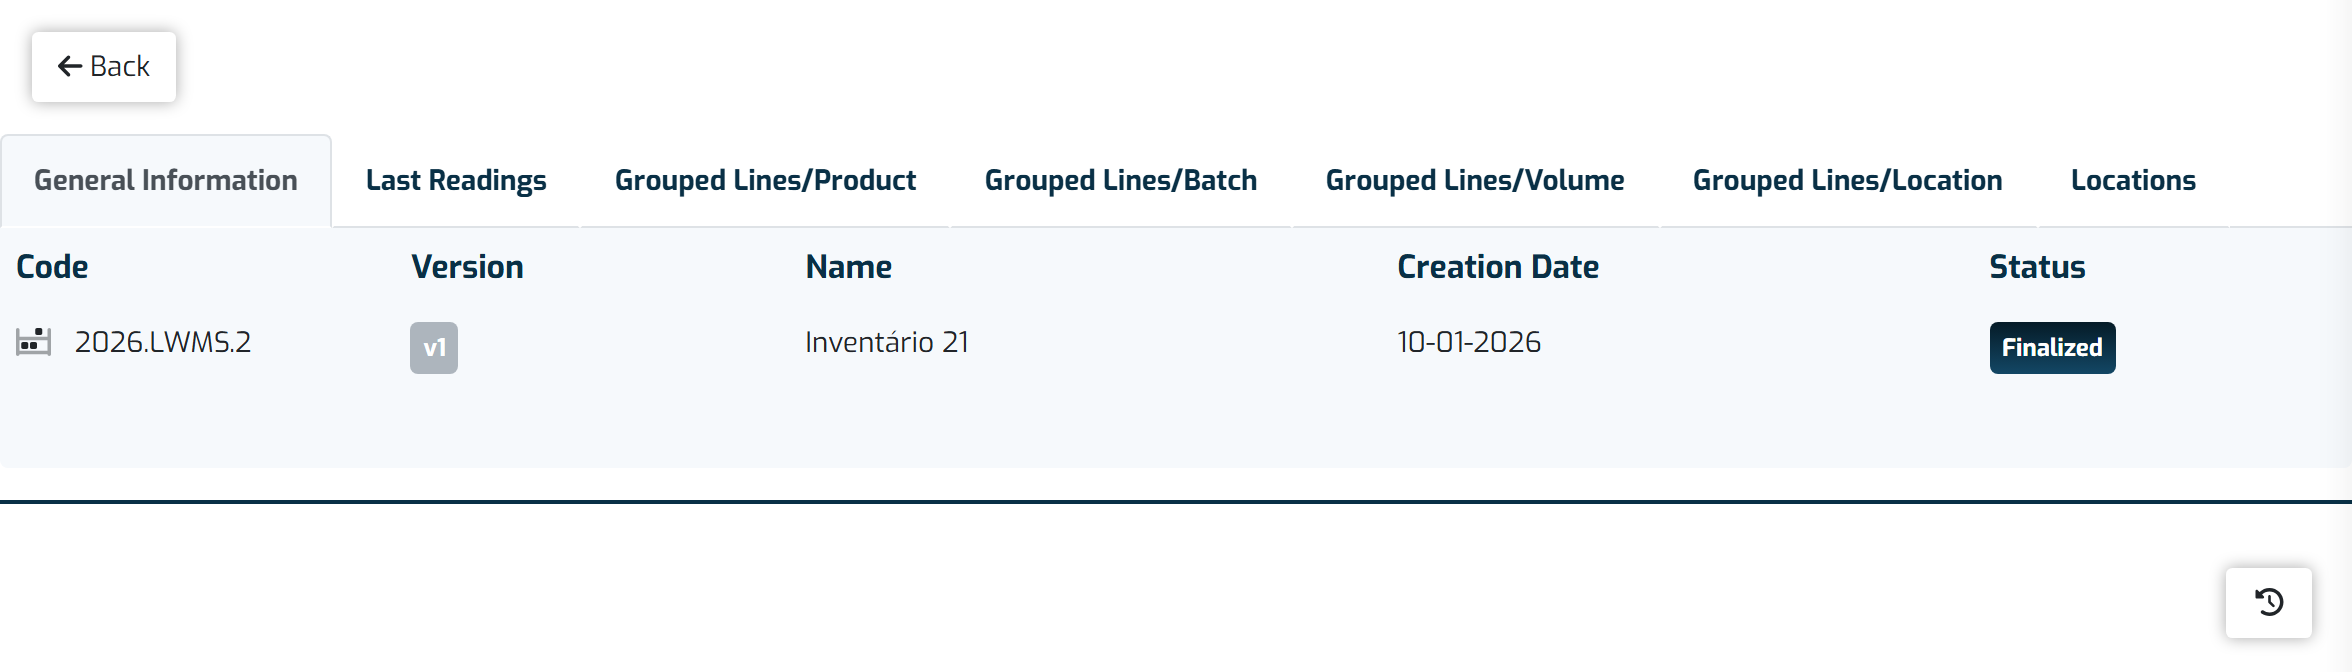
- Choose Validate Inventory.
- If there are still open locations, the application asks whether you want to close all locations. Confirm to close them and carry on.
- The inventory moves from Executing to Verification and stops accepting scans. If you need to correct one, open the Locations tab and use Reopen Location on the location you want to recount. The inventory goes back to Executing and, once you have recounted, you need to validate it again.
- Check the counts and open the inventory with View again.
- Choose Close Inventory and confirm.
- The inventory moves straight to Closing and the stock adjustments run in the background. You can leave the screen and carry on working — while it is closing it cannot be closed a second time.
- Wait for the confirmation email.
- When every adjustment is done the inventory moves to Finalized and you receive an email with a summary of any lines that could not be adjusted.
- If the close fails it moves to Closing failed and you receive an email too. Open the inventory and choose Close Inventory again to retry.
Please note
An inventory passes through six states: Created, Executing, Verification, Closing, Finalized and Closing failed. While it is being created it can also show as Creating or Creation failed.
The Validate Inventory and Close Inventory buttons are only shown to users with a supervisor or administrator profile.
The email goes to the user who closed the inventory, so make sure your address is up to date in your profile.